Campaign Management
Once a campaign has been provisioned, you can view details of it using the Outbound > Campaign Summary option.
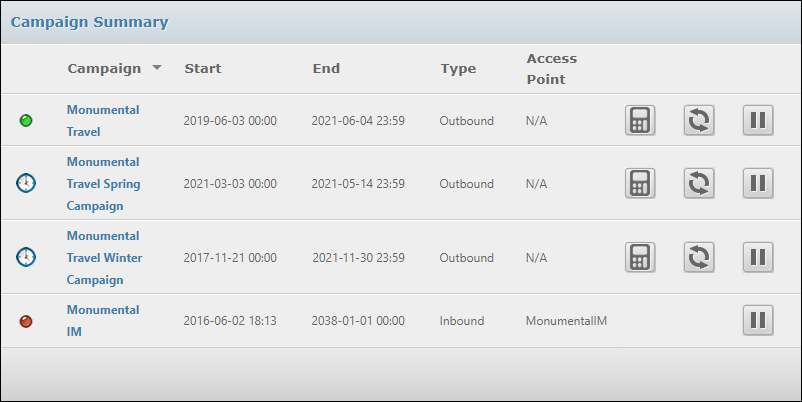
The screen lists all the campaigns currently provisioned for your organisation. In this screen, active campaigns can be paused at any time and later re-started (subject to the end date and time). This allows you to make changes to the campaign's configuration while the campaign is inactive.
The following buttons are used in the right-hand columns:


You can amend the filters used for your table view - in real time - to select different types of contact.
You can re-provision the campaign with a different table view or the same table view(s) with different filters; or different profiles.
You can amend the pacing profile to alter the rate at which calls are generated, amend the retry profile to force faster retries, and change the dial times profile and CLI profile to add new entries or amend existing entries.
Changing the Table View
While an OUTBOUND campaign is running, you can add and remove filters and edit the filter formula used to control what records a table view contains.
For example, you might target one particular age group during the morning and choose a different age group at lunchtime or evening. Or, based on your campaign monitoring using the VIEW Dashboard, choose to change the filter criteria to improve success rates. If you make changes in this way, save the table view using the same name (rather than 'save as'). The changes you make take effect immediately; the revised filters create a modified table view consisting of those records that now match the revised filters and formula.
Tables and table views are updated as the campaign runs and populates the system-defined columns. Once the campaign has begun, the data written to these columns can be used in table view filters.
Changing the Various Profiles
In the Campaign Summary screen (accessed using the Outbound > Campaign Provisioning menu option) you are able to change the different profiles (retry profile, pacing profile, dial times profile and CLI profile) as the campaign is running.
In each case, the new profile takes immediate effect.